

Now with comments!
Introduction As part of a class assignment, I got a little bit of time to work on a code project of my choosing. I’d like to have comments on my site, but got frustrated at the crappy, …
I developed Simple Cloudflare Comments to fulfil the need I had for a lightweight, edge-hosted comments engine.
It’s written in Typescript and runs on Cloudflare’s edge servers. At the moment it only supports Google for user authentication, but this could be extended. As an added bonus it automatically connects to webmention.io to collect webmentions from other sites
There’s an example site in my repository, lets start with that
$ git clone https://github.com/grahamsz/simple_cloudflare_comments

Cloning into 'simple_cloudflare_comments'...
remote: Enumerating objects: 179, done.
remote: Counting objects: 100% (179/179), done.
remote: Compressing objects: 100% (89/89), done.
remote: Total 179 (delta 68), reused 152 (delta 54), pack-reused 0
Receiving objects: 100% (179/179), 326.62 KiB | 2.30 MiB/s, done.
Resolving deltas: 100% (68/68), done.

cd simple_cloudflare_comments/example
Now we need to install the required plugin into the example site
$ npm i https://github.com/grahamsz/simple_cloudflare_comments

added 200 packages, and audited 201 packages in 18s

20 packages are looking for funding
  run `npm fund` for details

found 0 vulnerabilities
You’ll need to set up wrangler with your Cloudflare account, then you can type the following commands to make a new database. I’m using example_comments as the name, but you can use whatever you want
$ wrangler d1 create example_comments

✅ Successfully created DB 'example_comments'!

Add the following to your wrangler.toml to connect to it from a Worker:

[[ d1_databases ]]
binding = "DB" # i.e. available in your Worker on env.DB
database_name = "example_comments"
database_id = "1111111-111111-1111-1111-11111111"
Now we’ll initialize it with the tables we need
$ wrangler d1 execute example_comments --file node_modules/@grahamsz/simple_cloudflare_comments/migrations/0000_initial_tables.sql

Packages @databases/sql, @databases/split-sql-query not available locally. Attempting to use npx to install temporarily.
Installing... (npx --prefer-offline -y -p @databases/[email protected] -p @databases/[email protected])
Installed into /home/gxs/.npm/_npx/48c3d90e3e285020/node_modules.
To skip this step in future, run: npm install --save-dev @databases/[email protected] @databases/[email protected]
🌀 Mapping SQL input into an array of statements
🌀 Parsing 3 statements
🌀 Executing on example_comments2 (185bf8ad-8691-4a51-9553-09cc660e4359):
🚣 Executed 3 commands in 2.1106880009174347ms
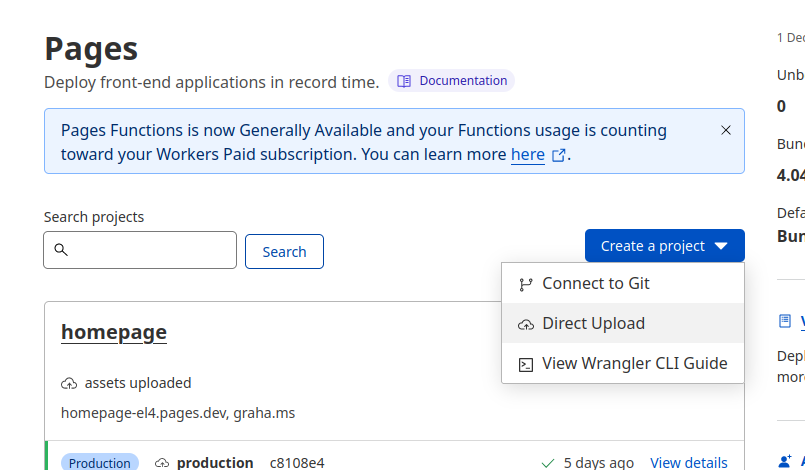
Sign into your Cloudflare dashboard and choose to Create a New Pages project, and choose Direct Upload.
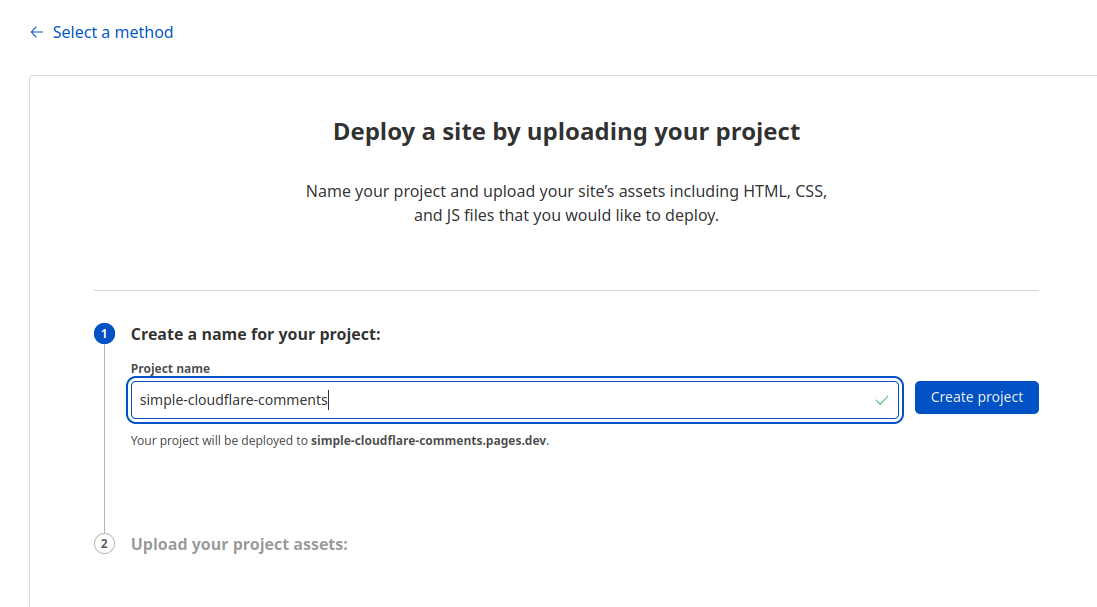
Next, give it a name
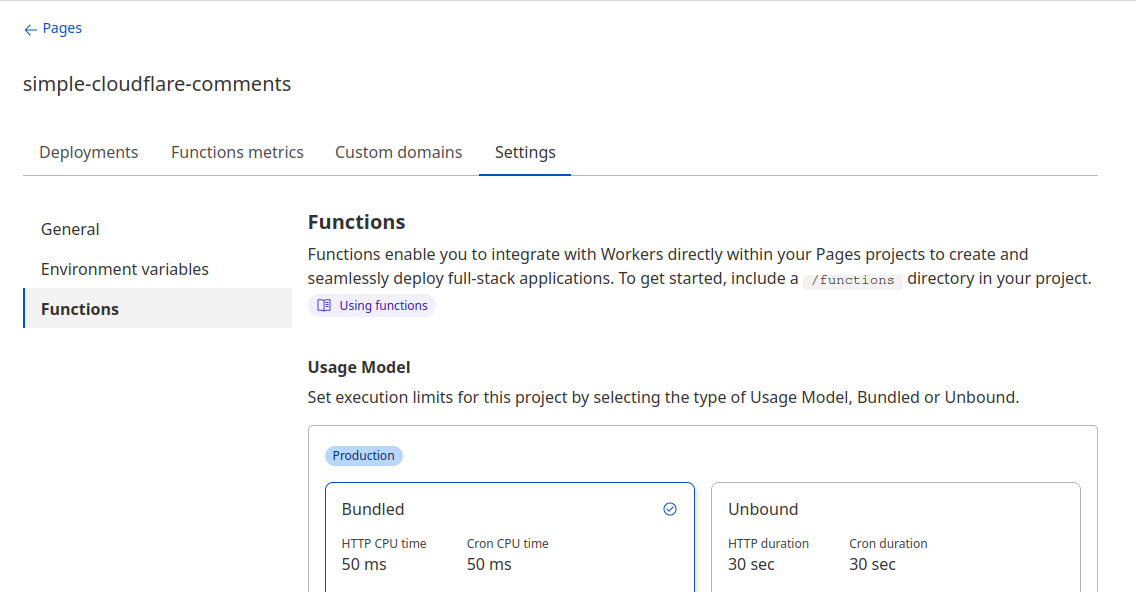
Go into the settings for the Project
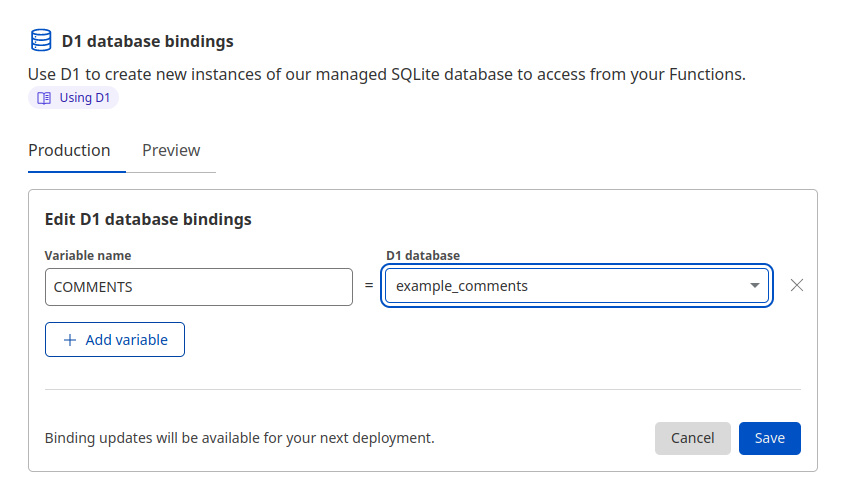
… and scroll down until you can add a D1 binding to the database you created. You’ll use COMMENTS as the binding name as that’s what the plugin expects. Pick the database you created with Wrangler.
Sign into Google Cloud Console to create a new project. The type should be “Web Application” and the Authorized Javascript origin should be the URL that Cloudflare shows for your project. In my case that’s https://simple-cloudflare-comments.pages.dev. The redirect URI should be the same domain but the address of /scc/auth.
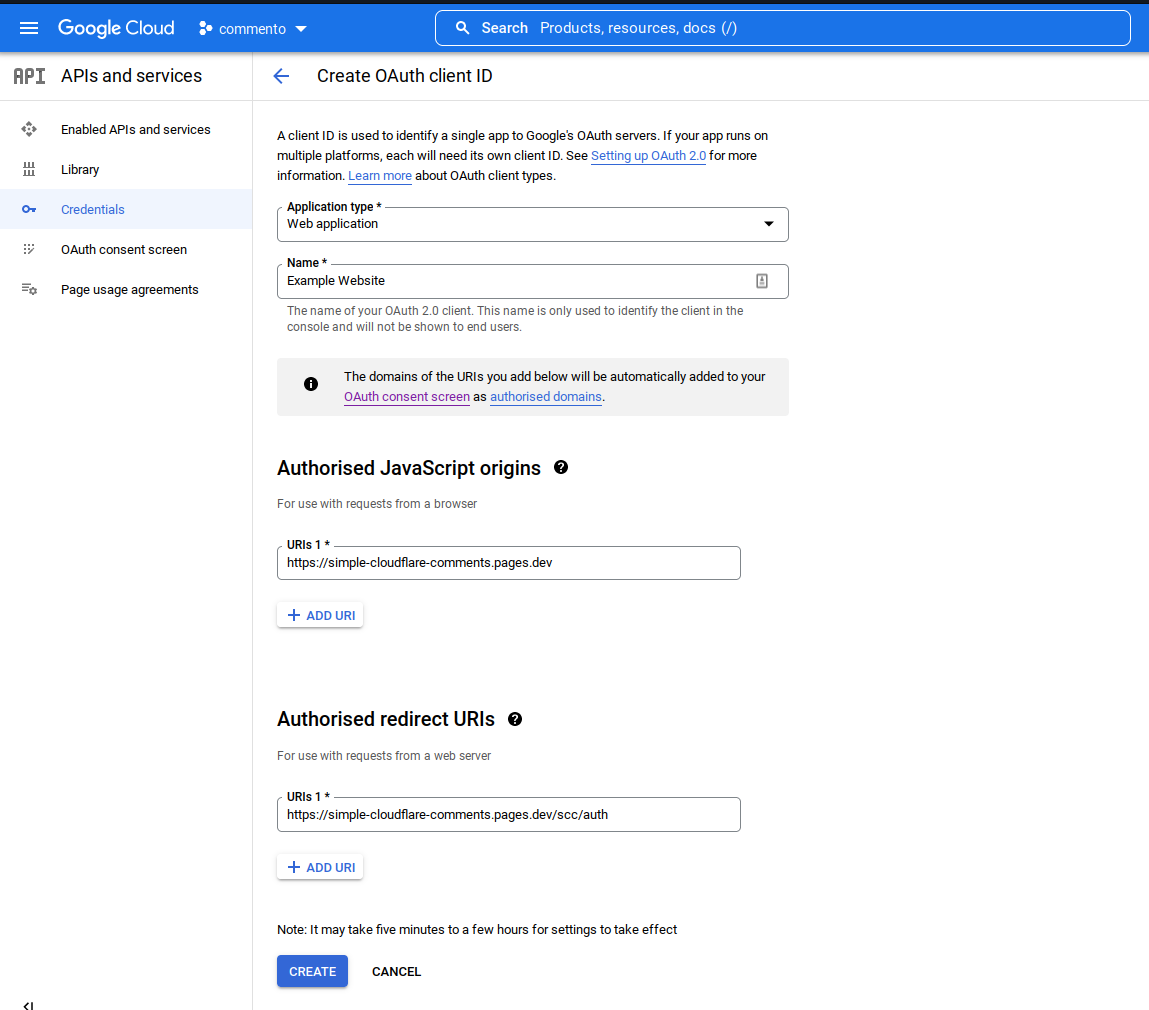
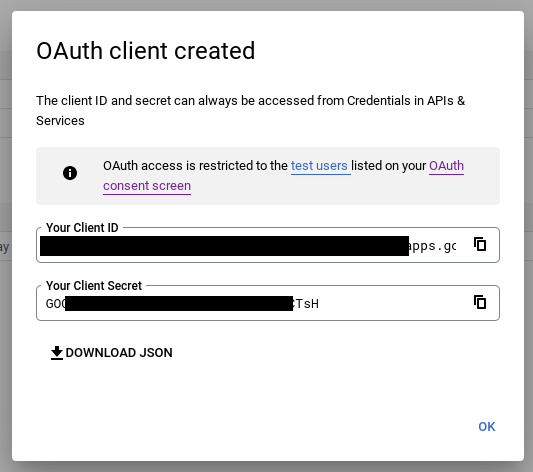
Google will give you a Client ID and Key - keep these secret.
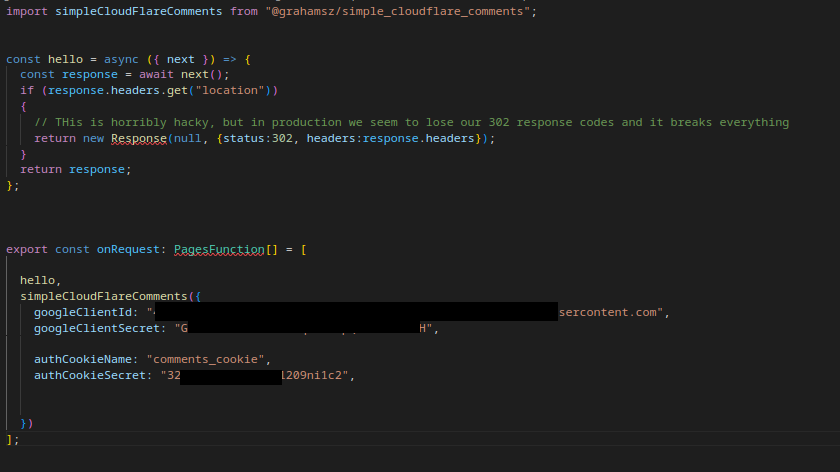
The plugin works by using a _middleware.ts file located in functions/scc which will intercept all traffic going to the /scc path on your server and route it into the plugin. We need to edit this middleware file with the client id and secret that google gave us. While we’re here we should also replace the authCookieSecret value with any random string (it’s used to create an HMAC signature on our own auth cookies).
In the example site folder, you can simply type
$ wrangler pages publish public
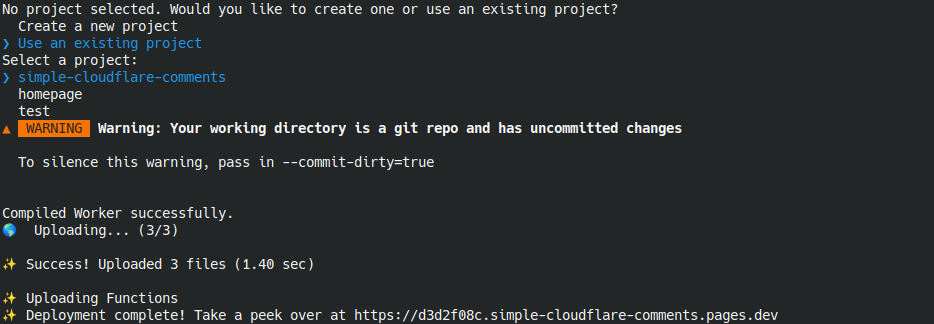
The URL listed above points to the specific deployment that you just made, you should be able to open that, but you won’t be able to sign into google without updating the console with the 8 character string at the front of the URL.
However, you can now go to https://simple-cloudflare-comments.pages.dev (without the deployment ID) and everything should hopefully work.
You can access logs from the server by typing wrangler pages deployment tail which might give you some clues if it didn’t work.
Each HTML page that you want to have comments on, should have a small scrap of code like this. This creates a placeholder DIV and then loads the content from the plugin.
<div id="comments"></div>
<script>fetch('/scc/comments').then(response=> response.text()).then(text=> { document.getElementById('comments').innerHTML = text; if (location.href.includes('#')) location.href=location.href;});</script>
The plugin will create a thread for each Referer URL that’s passed into it.
Users can log in with their Google accounts, and when the sign in completes we create an HMAC signed cookie that contains their user identity. This is used on all future attempts to retrieve the comment thread.
You’ll also have to include the associated CSS.
Introduction As part of a class assignment, I got a little bit of time to work on a code project of my choosing. I’d like to have comments on my site, but got frustrated at the crappy, …